|
|
教育機構ANA通報平台
| 發佈編號 |
TACERT-ANA-2019052709053737 |
發佈時間 |
2019-05-27 09:18:39 |
| 事故類型 |
ANA-漏洞預警 |
發現時間 |
2019-05-24 17:18:18 |
| 影響等級 |
低 |
|
|
| [主旨說明:]
【漏洞預警】Synology-SA-19:25 Virtual Machine Manager存在安全漏洞,請儘速確認並進行更新。 |
| [內容說明:]
轉發 台灣電腦網路危機處理暨協調中心 資安訊息警訊 TWCERTCC-ANA-201905-0006
Synology Virtual Machine Manager是協助使用者集中管理多台 Synology NAS的軟體套件。 研究人員發現Synology-SA-19:25 Virtual Machine Manager存在安全漏洞,遠端攻擊者可利用此漏洞,繞過 Virtual Machine Manager 之安全限制。
此訊息僅發送到「區縣市網路中心」,煩請貴單位協助公告或轉發 |
| [影響平台:]
Virtual Machine Manager 2.4
Virtual Machine Manager 2.3 |
| [建議措施:]
使用 Virtual Machine Manager 套件的單位盡快更新到最新版本
Virtual Machine Manager 2.4 升級到 2.4.1-9259 或更新版本
Virtual Machine Manager 2.3 升級到 2.3.5-9030 或更新版本 |
| [參考資料:]
https://www.synology.com/zh-tw/security/advisory/Synology_SA_19_25 |
【上次工作會議紀錄】【行動學習專案網站】
日期:108年5月24日(五)
時間:下午 1:30 – 4:30
地點:電腦教室(三)
工作報告:
成長研習:
VR 教學應用實作
Roundme
- 360 度全景拍照:台南市東區復興國小
- 圍繞著我的深深港覺美妙~360 Roundme分享
- Roundme的地圖標記連結
- Roundme 互動補充、聲音運用,再與Aurasma連通!
- 建立Roundme 全景瀏覽與互動~編輯與瀏覽
- Roundme~真心圍繞著您玩360VR!
LaBear Class 行動教學系統 教學應用
TinkerCAD
教學影片:
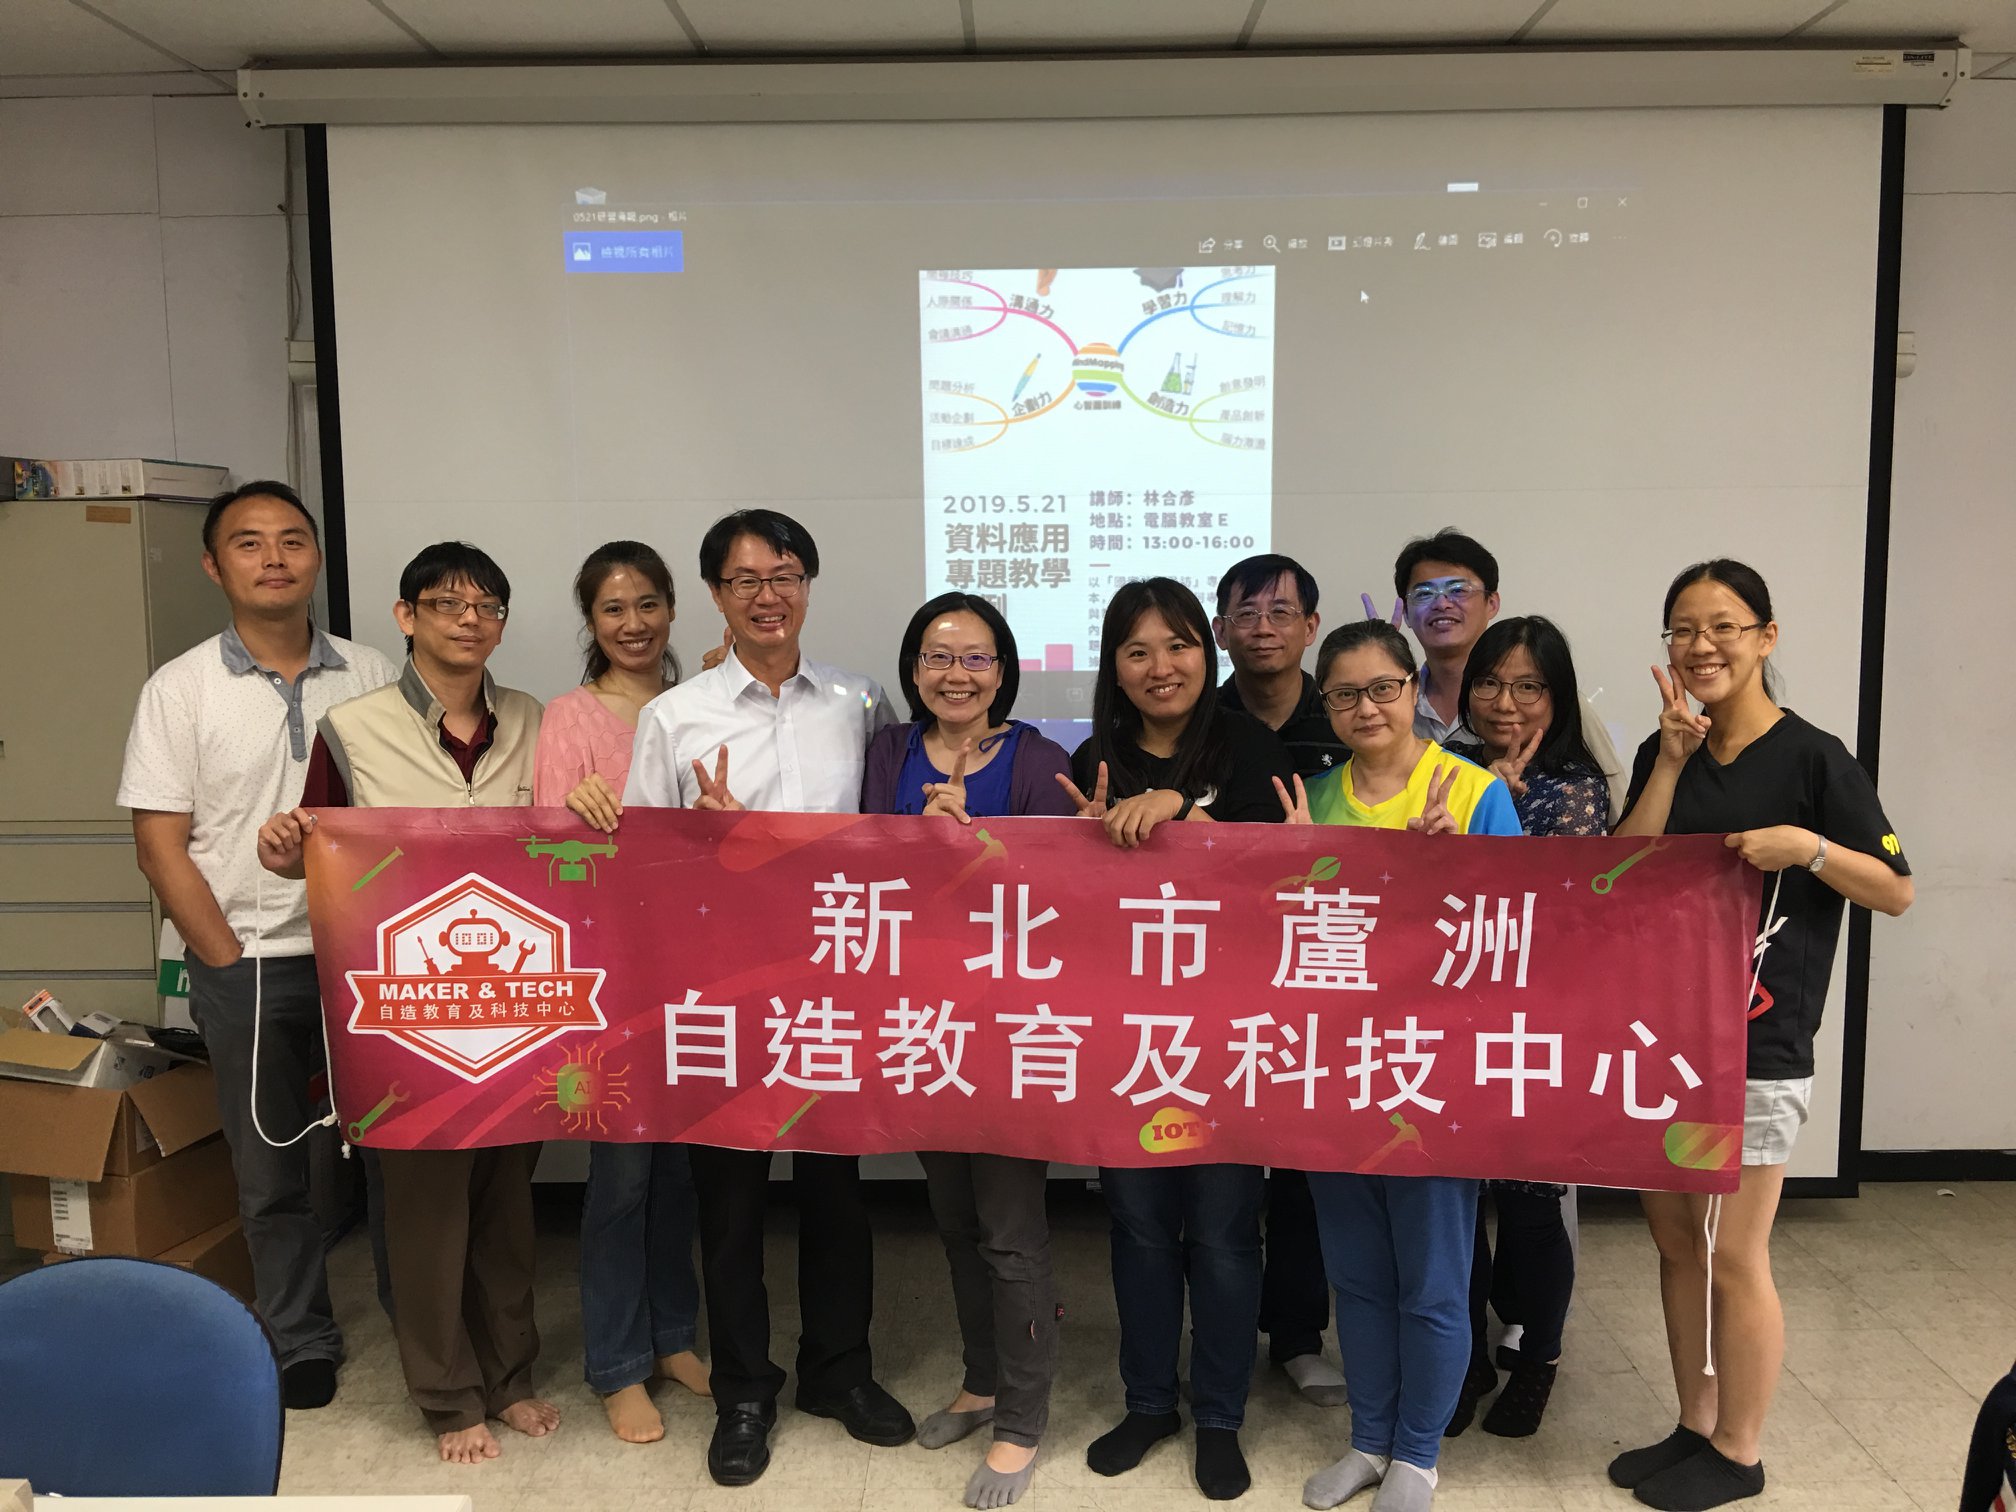
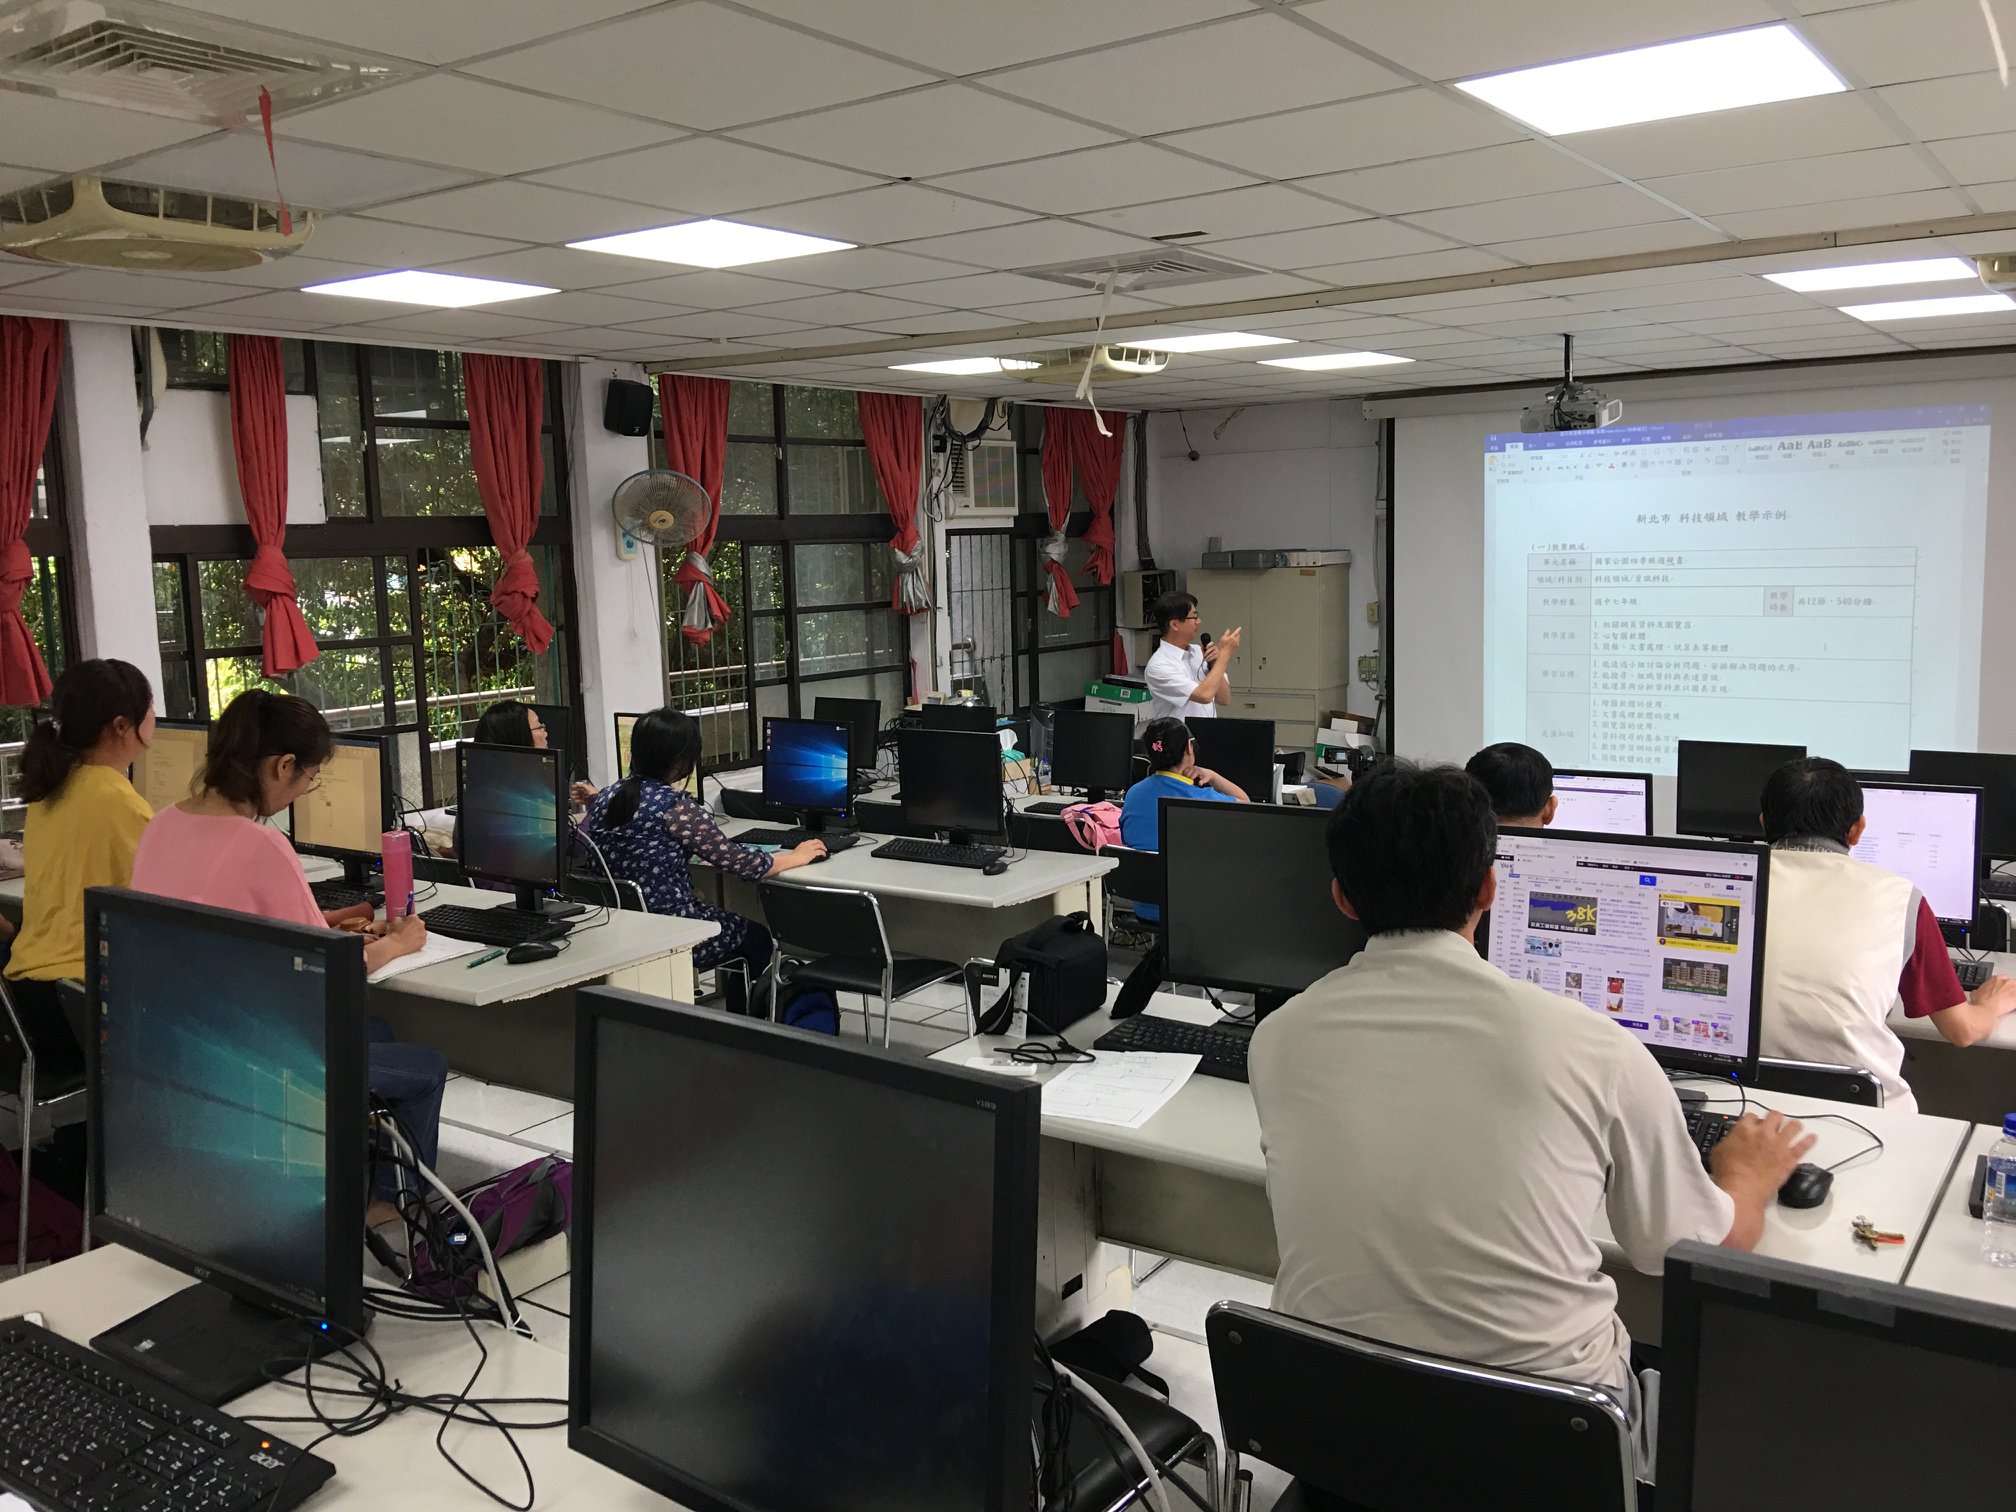
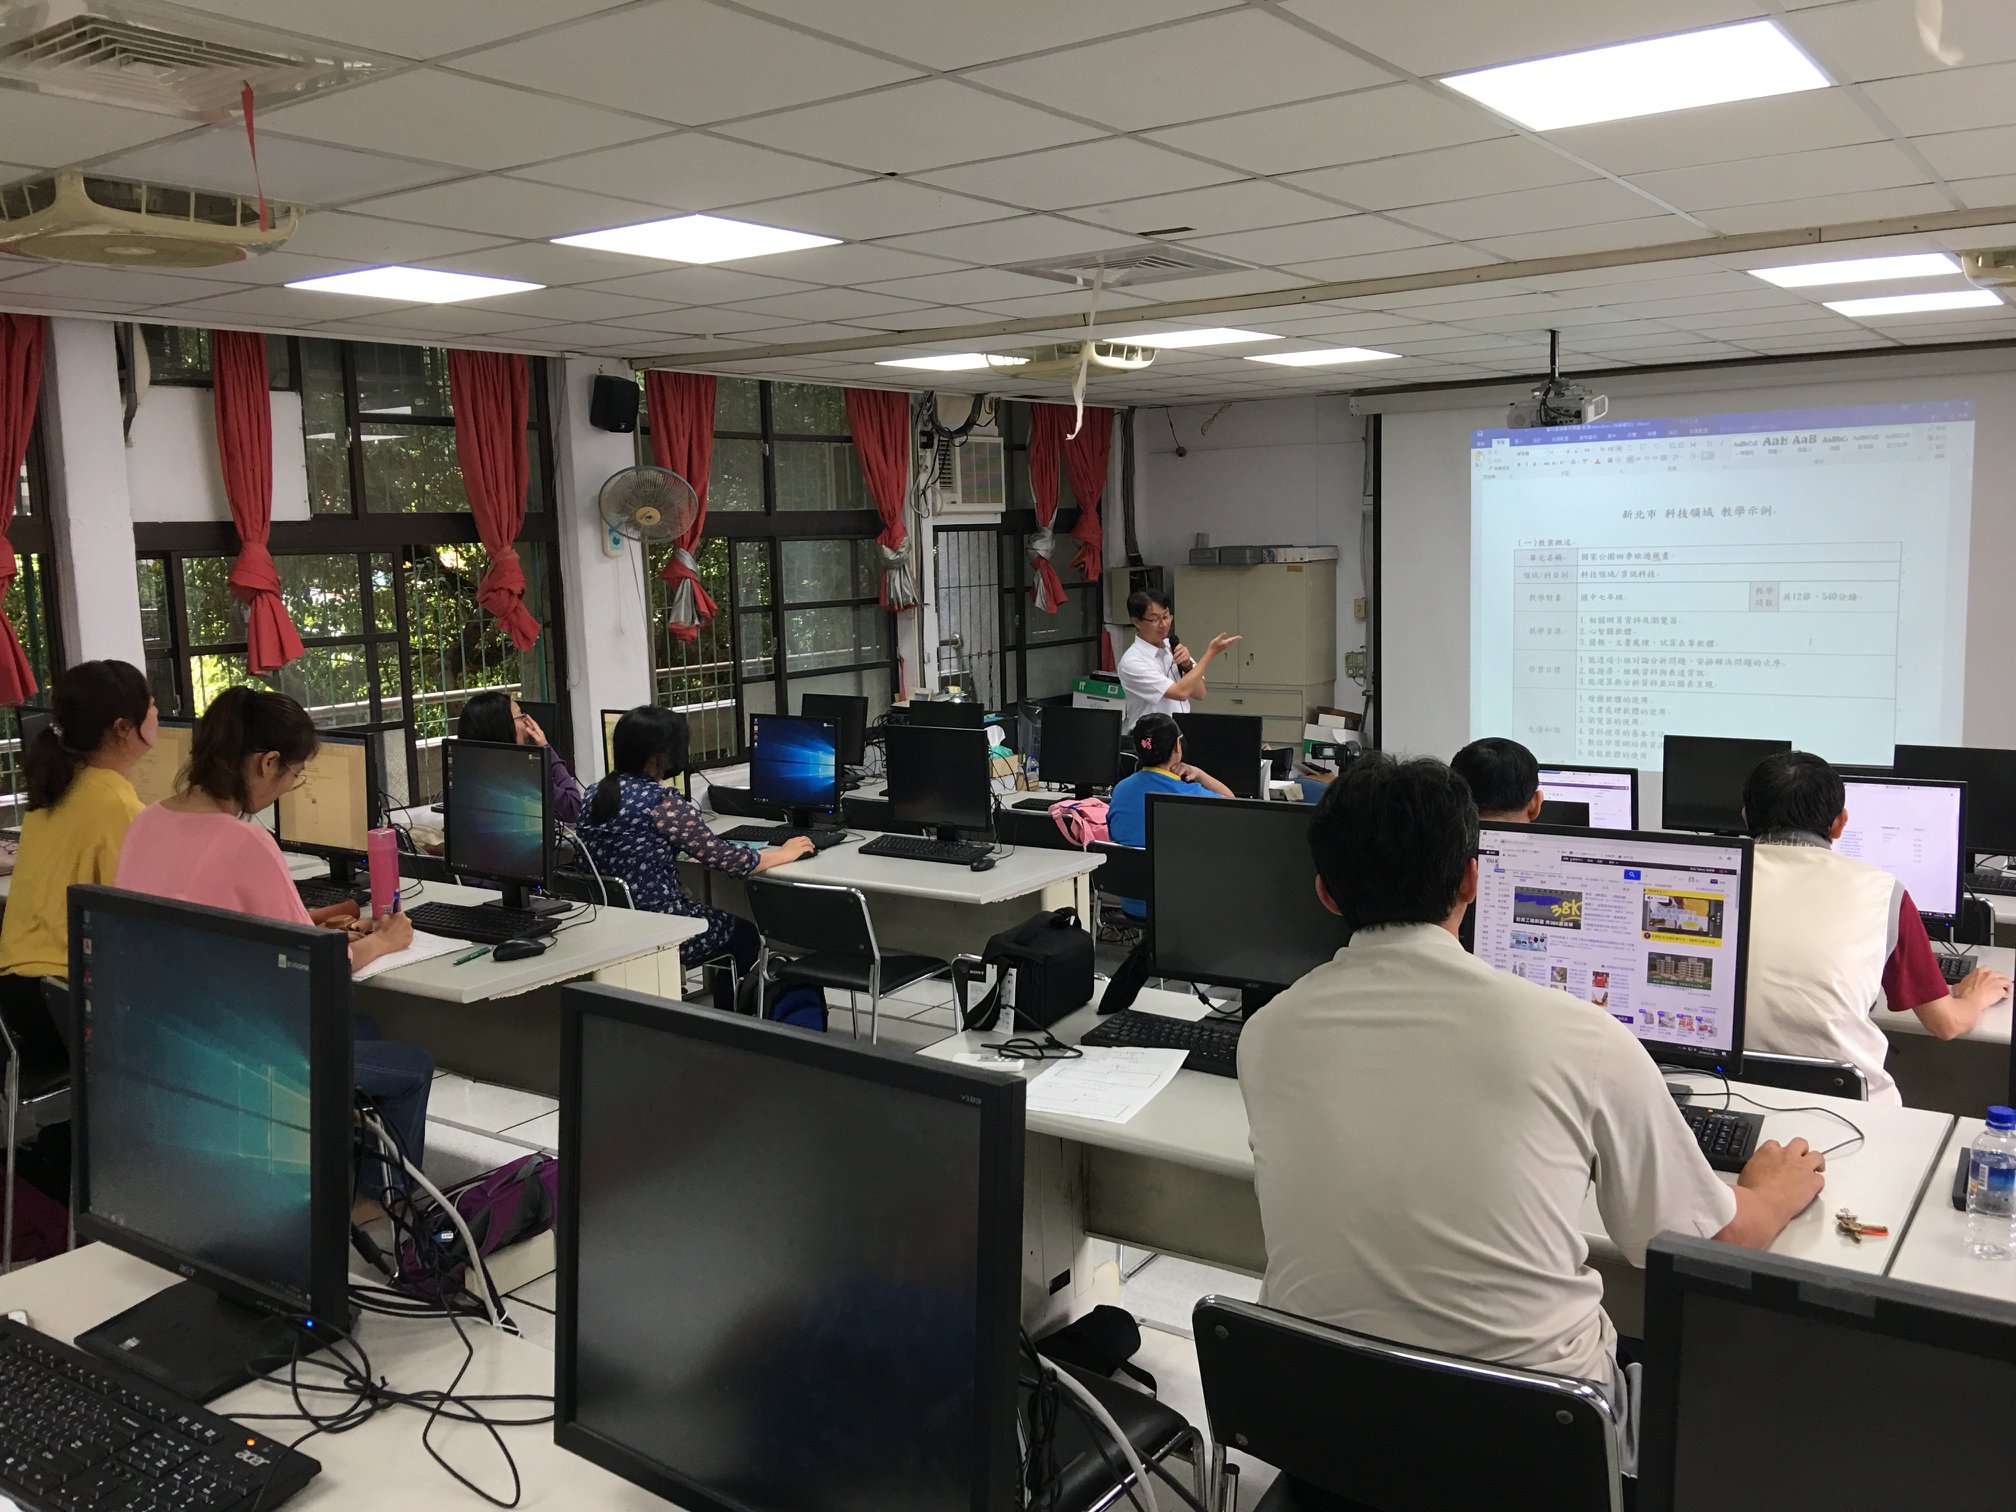
日期:108年5月21日(二)
時間:下午 1:00 – 4:00
地點:蘆洲區蘆洲國中仁愛樓2F科技中心教室
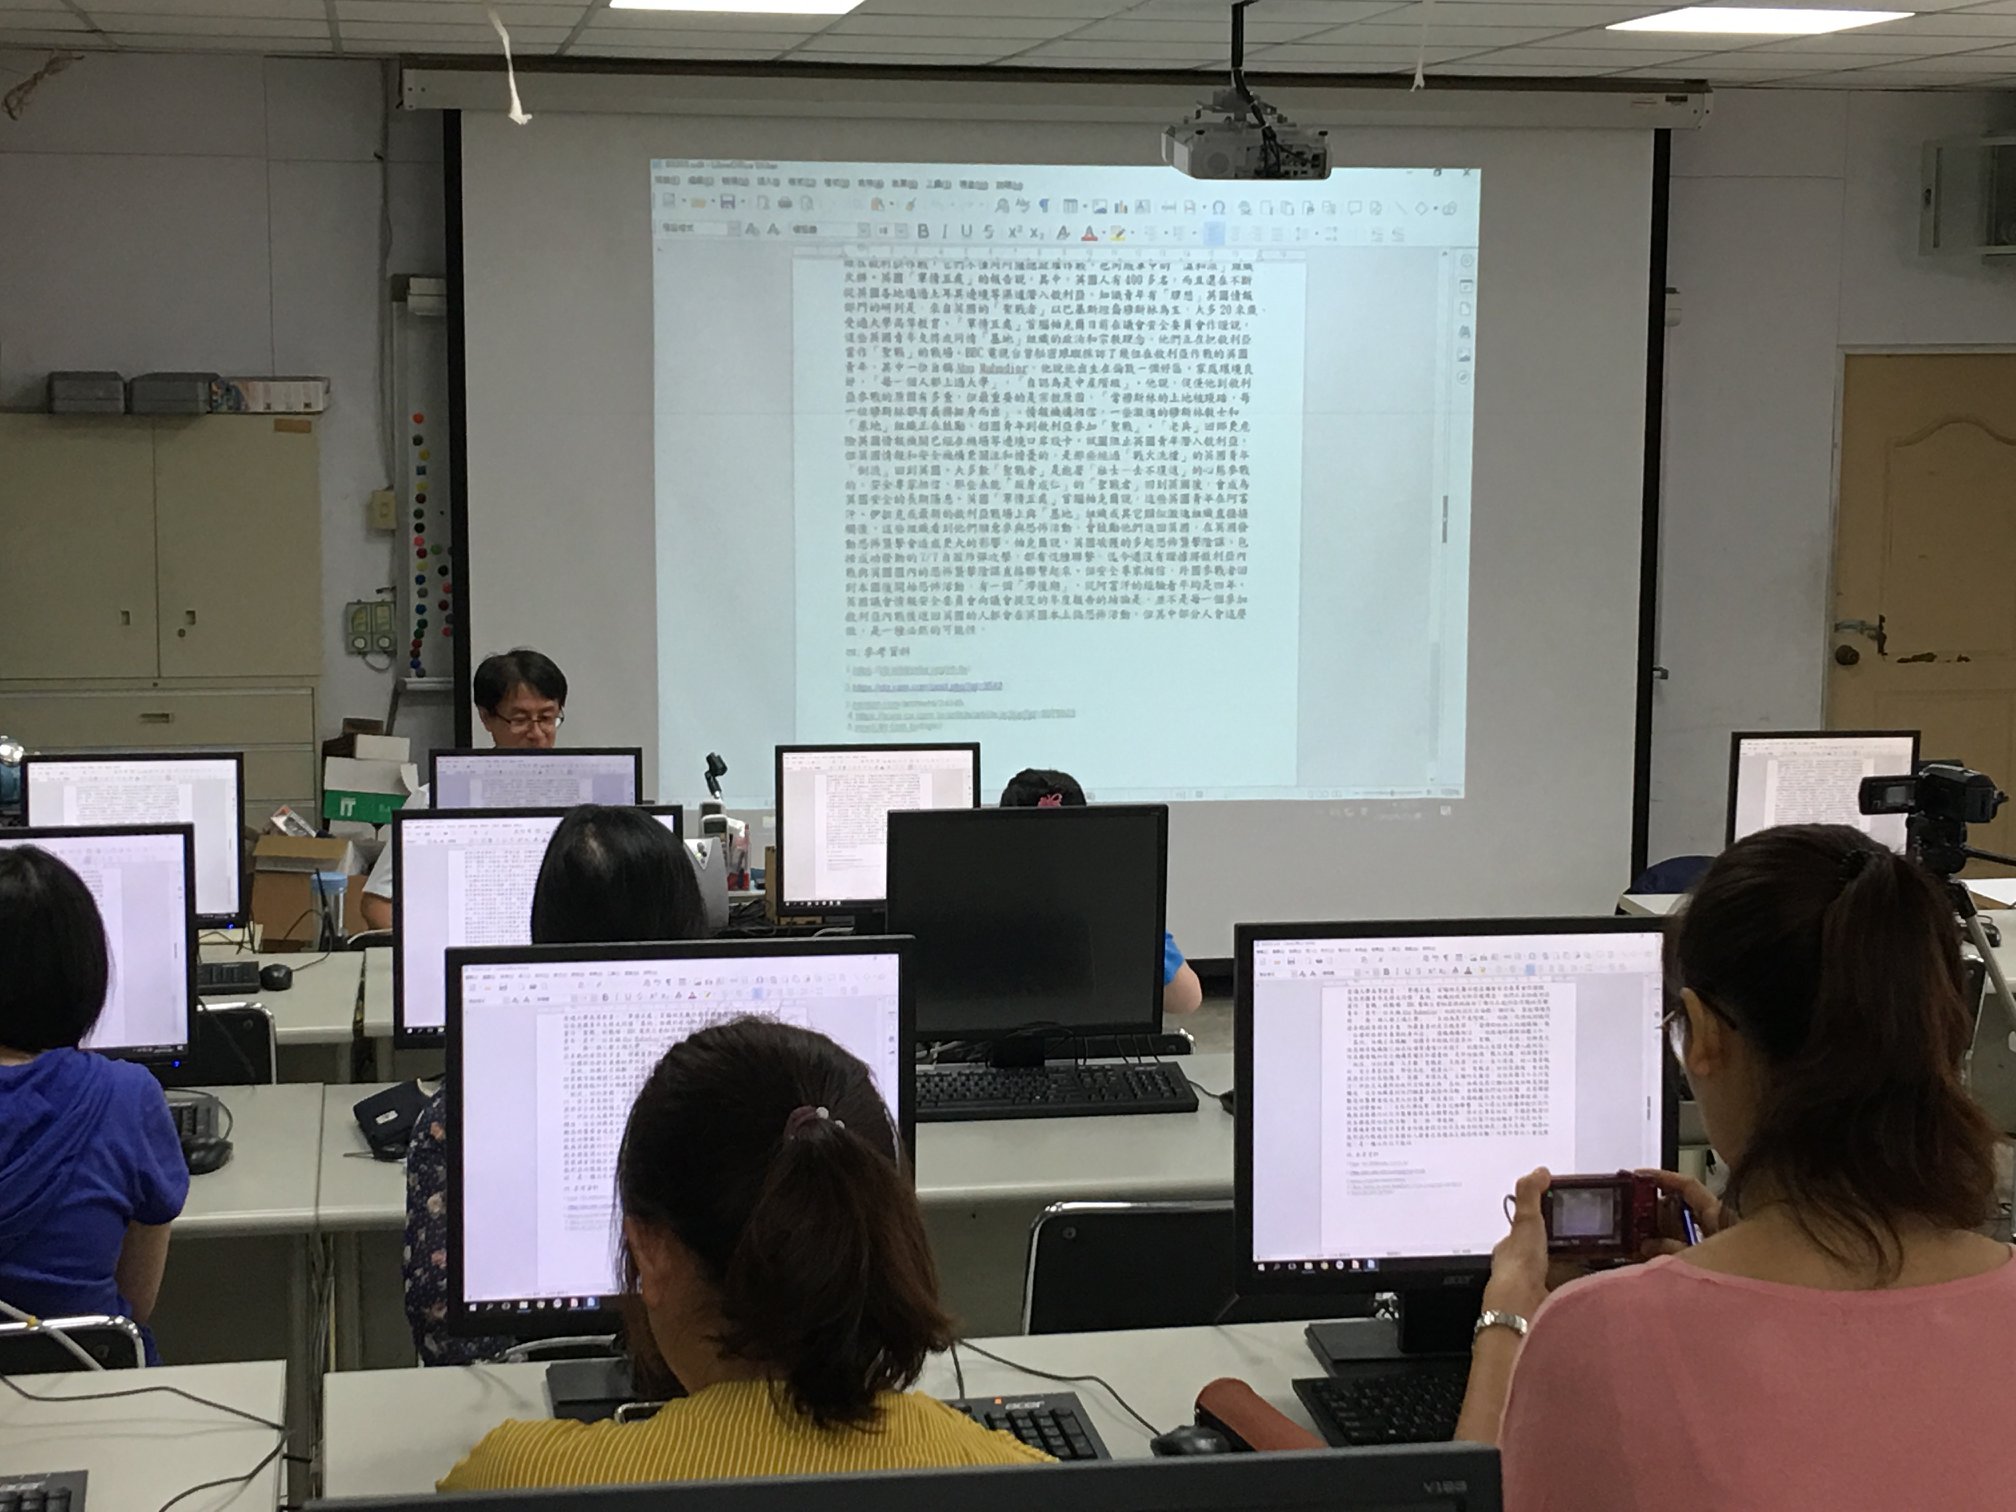
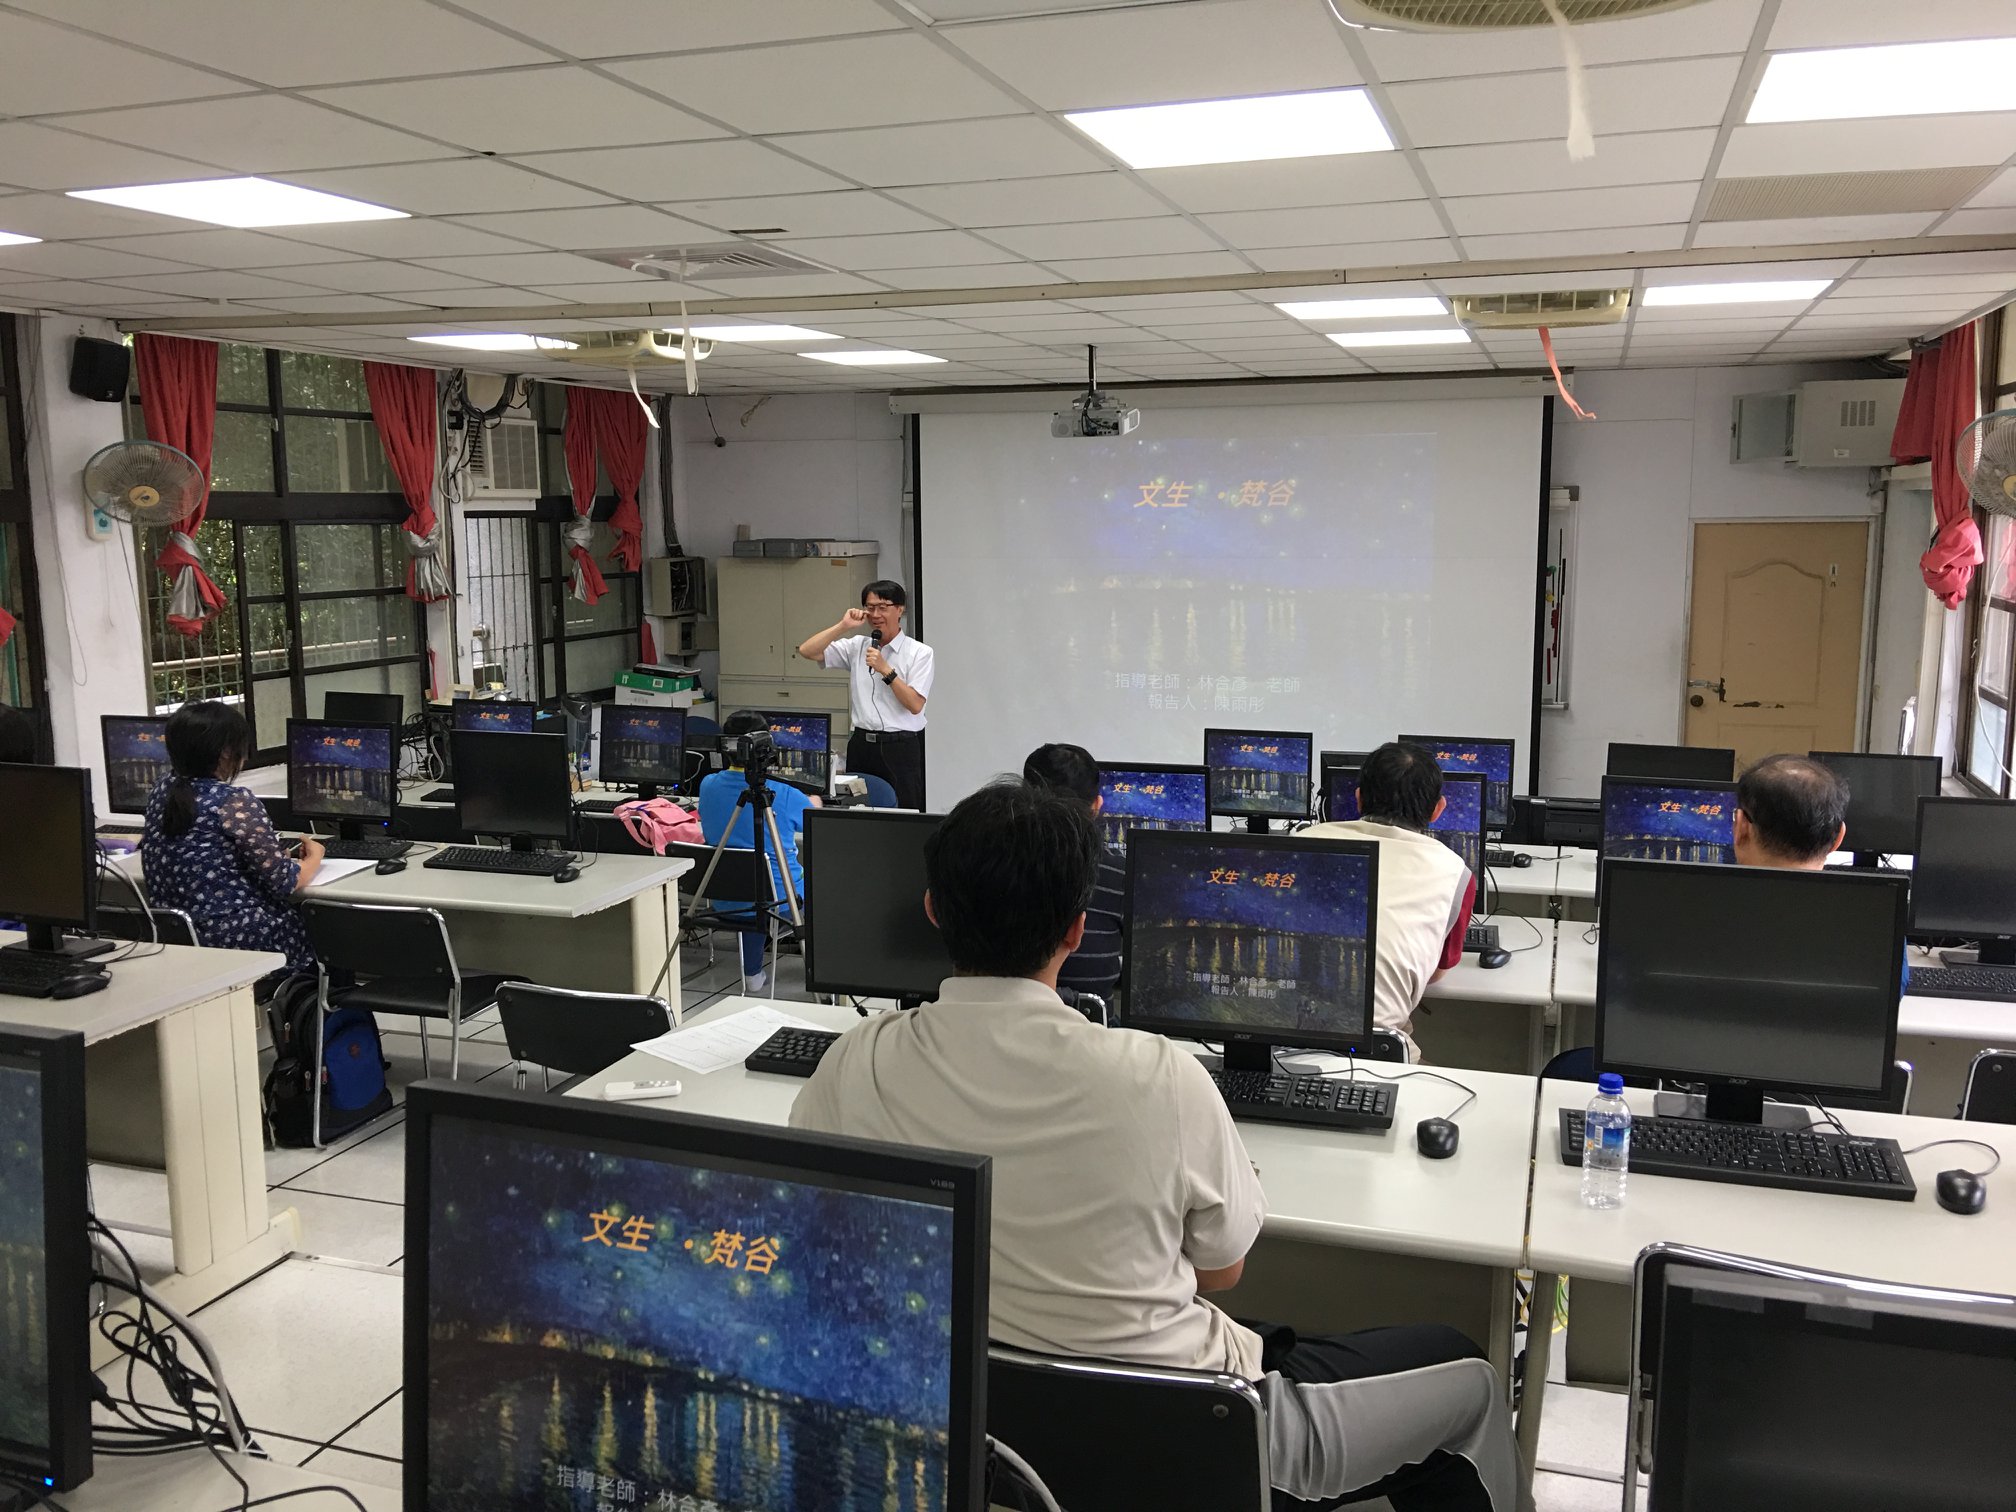
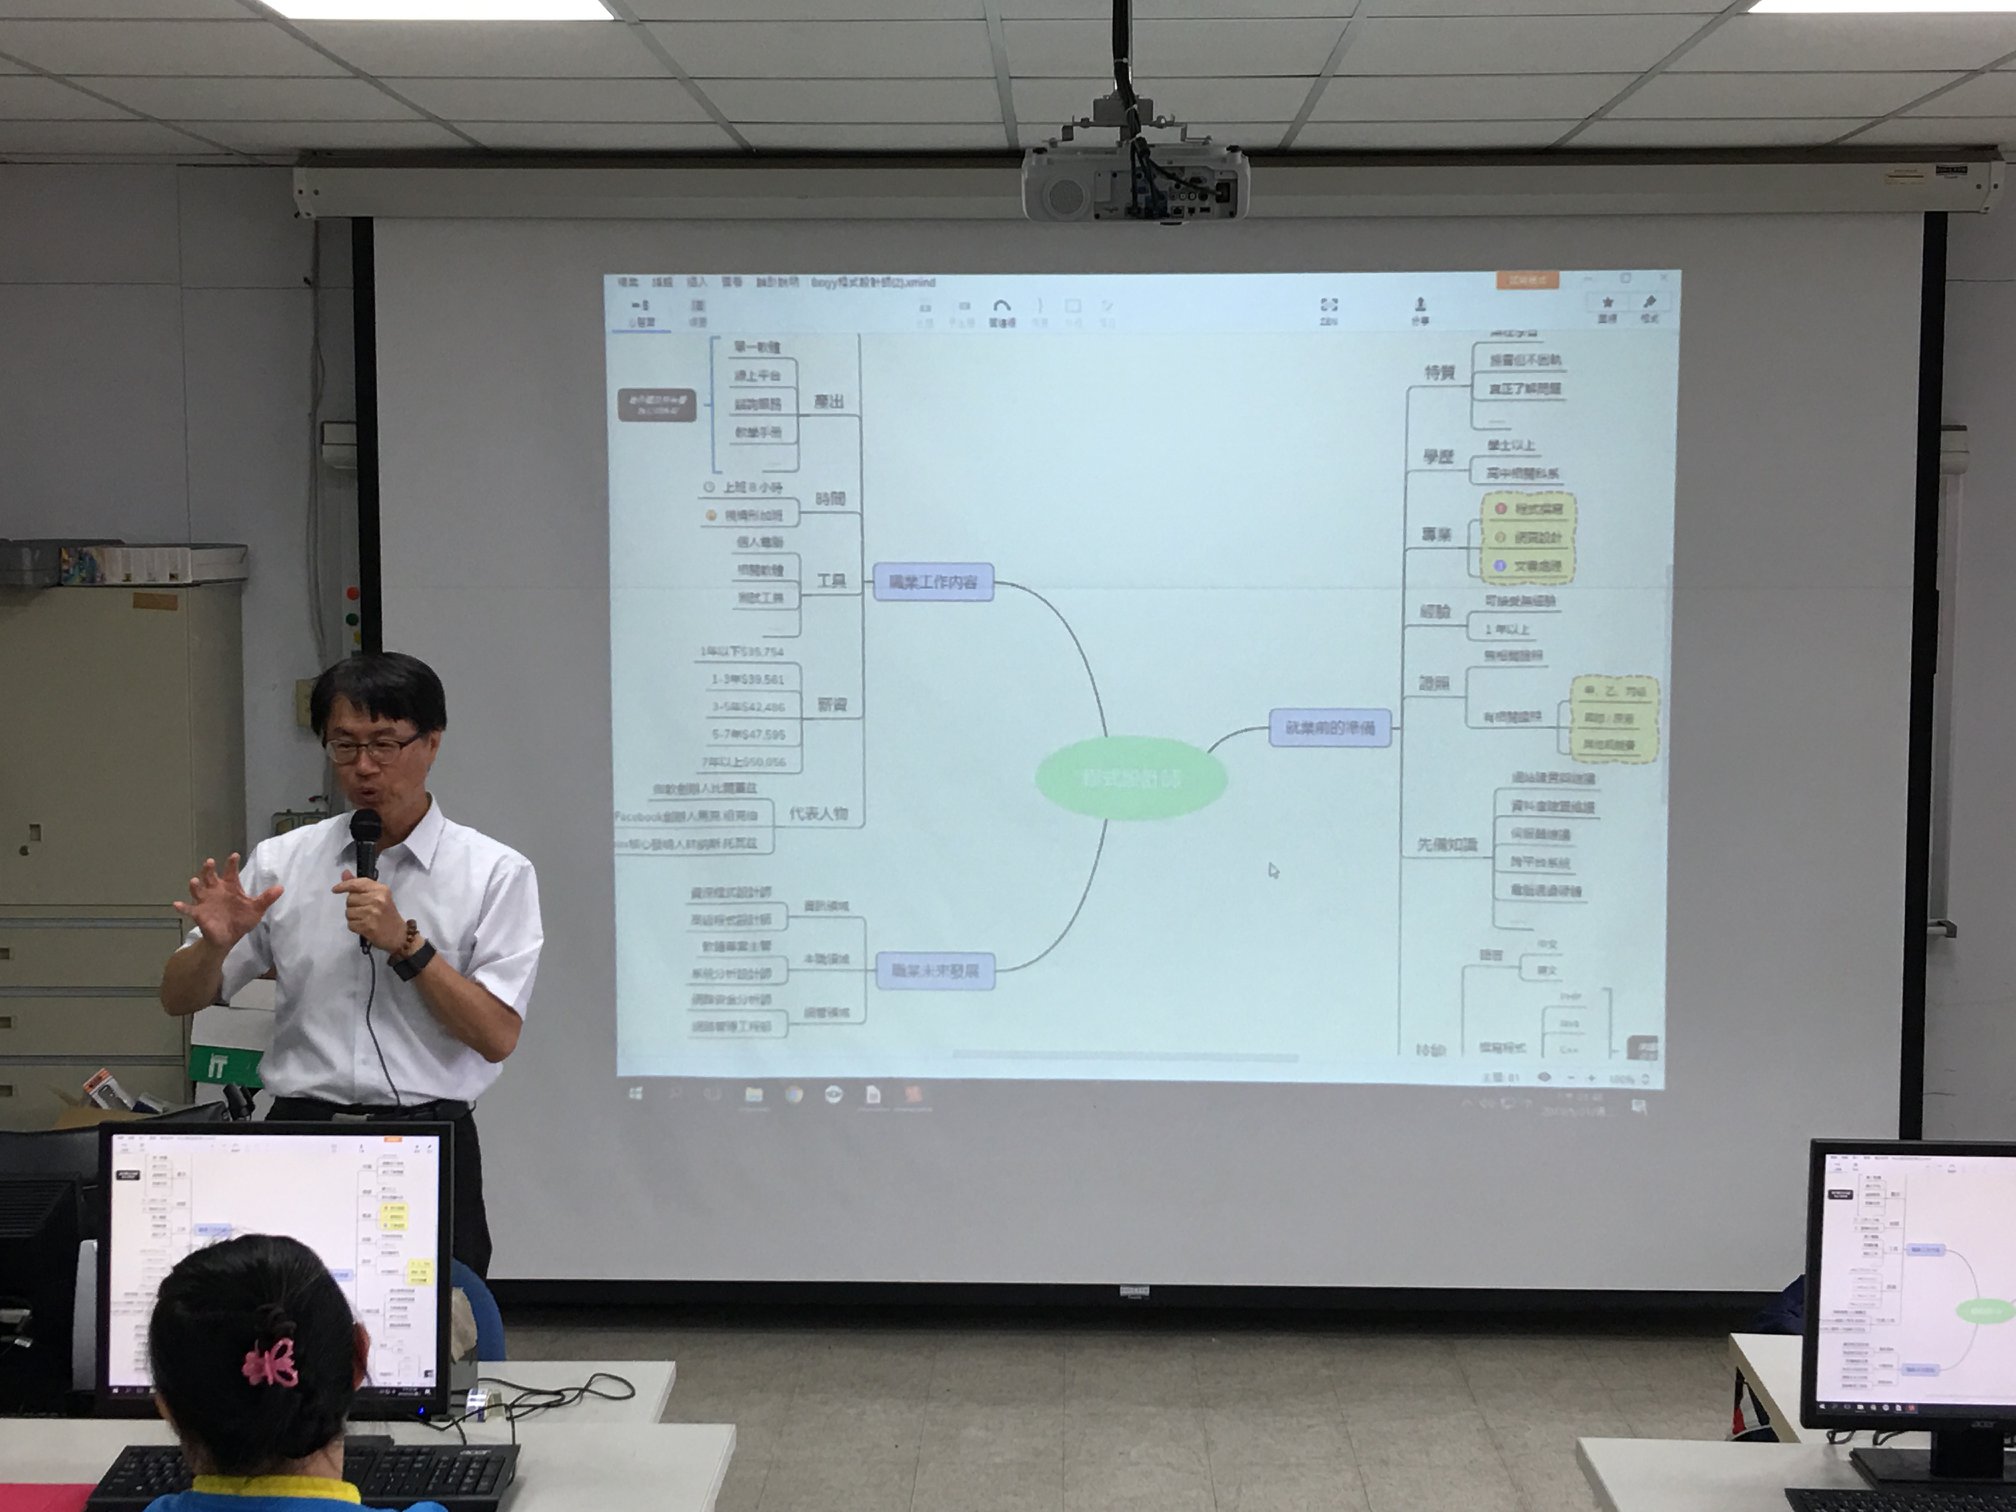
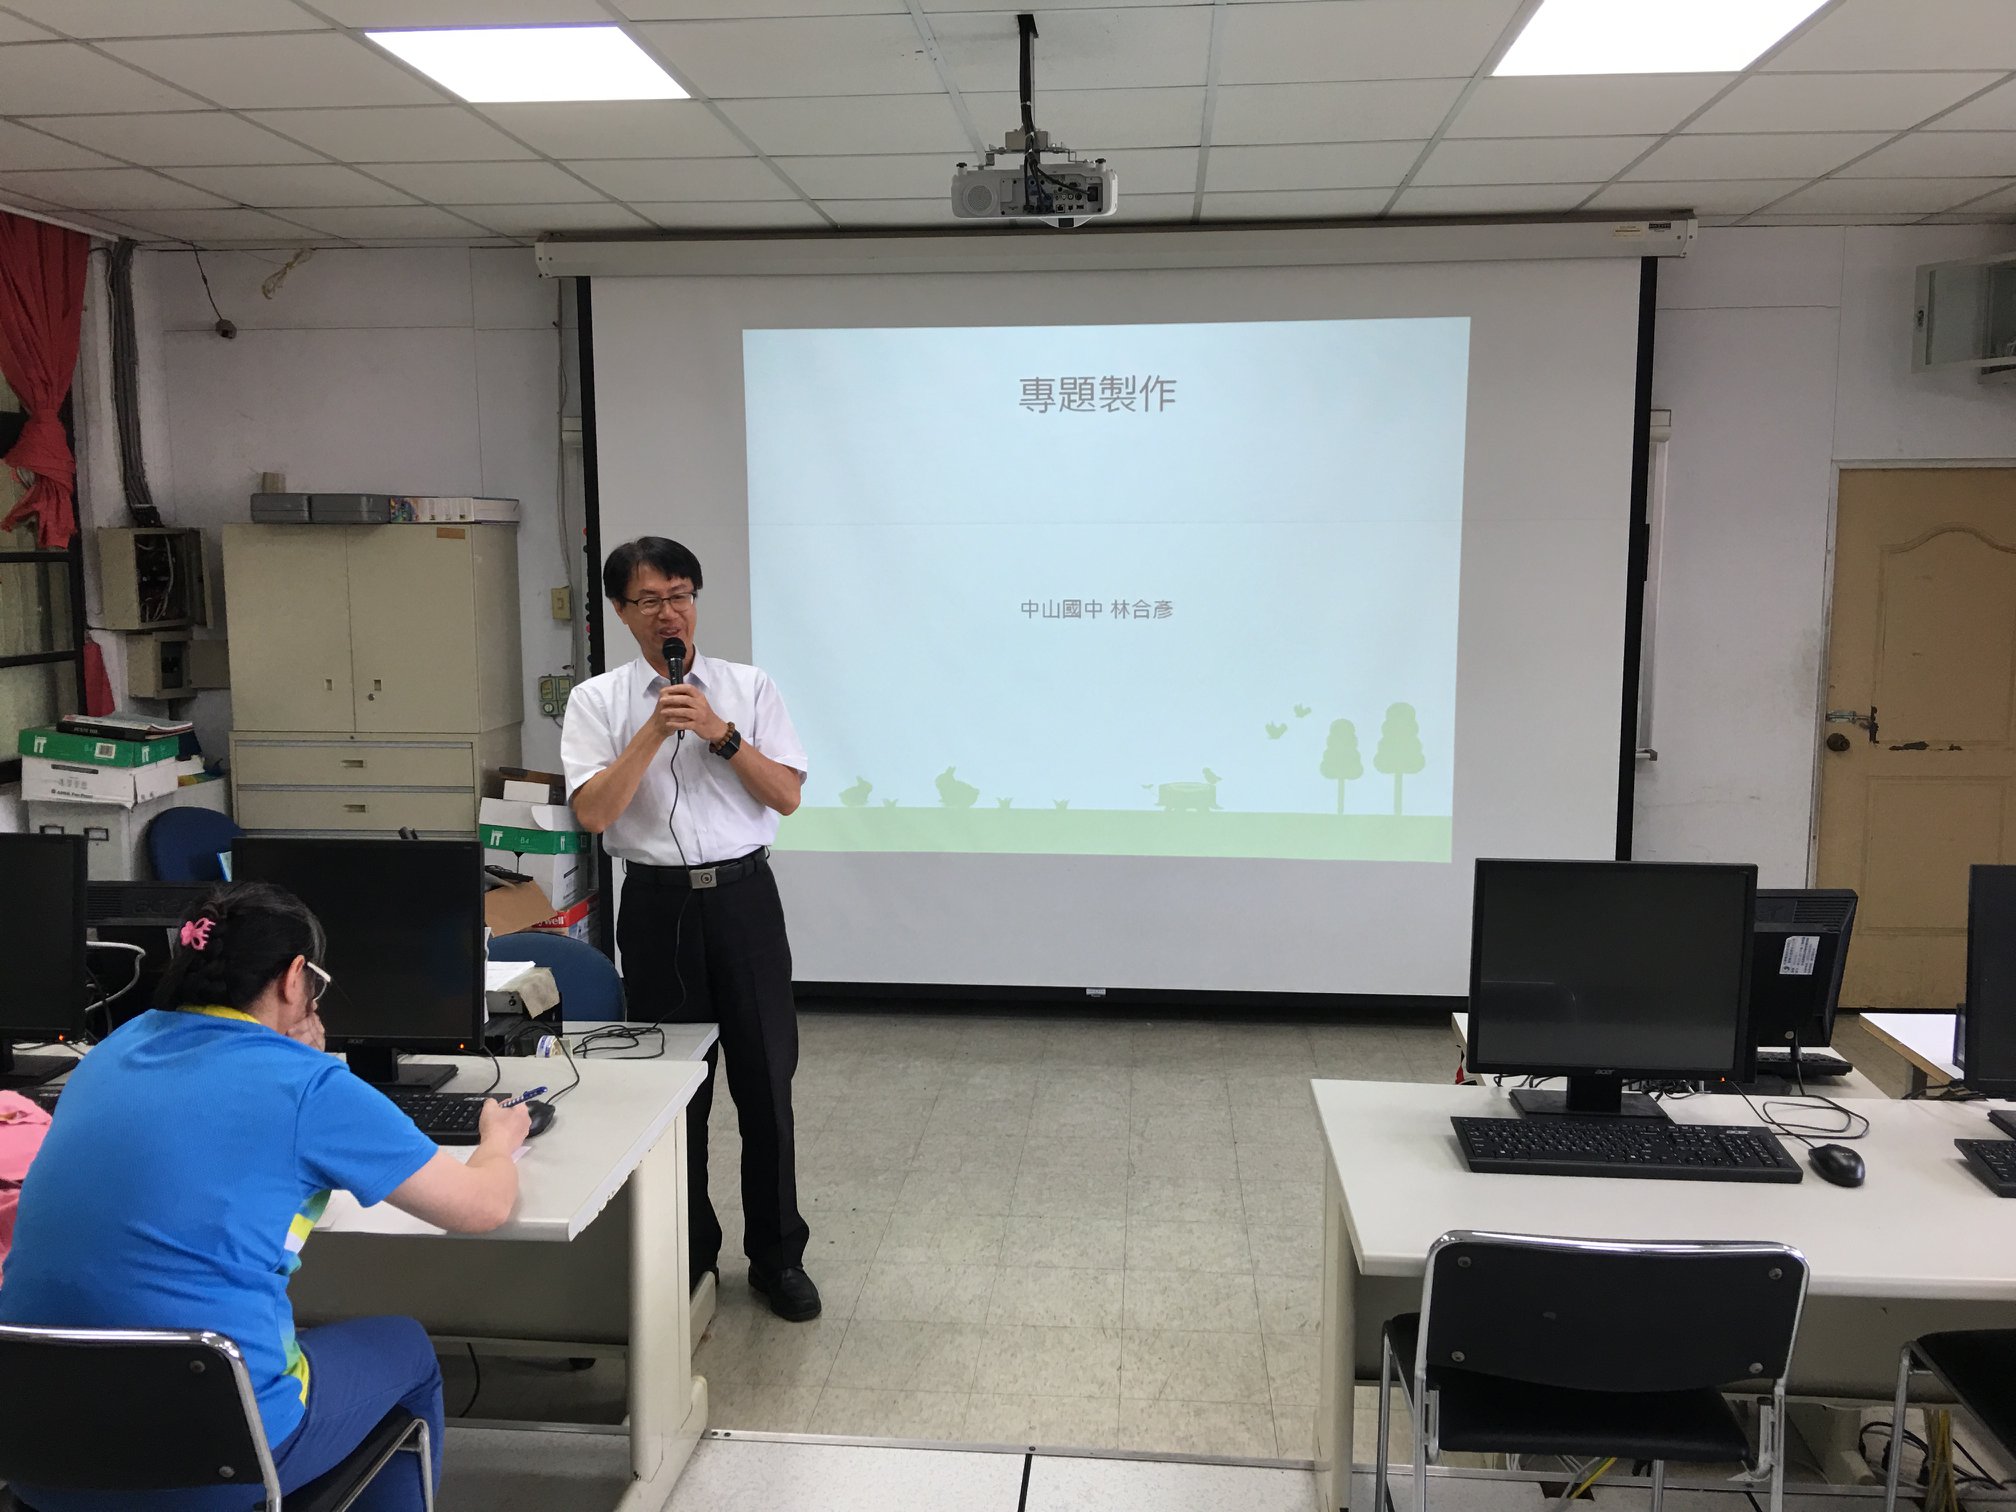
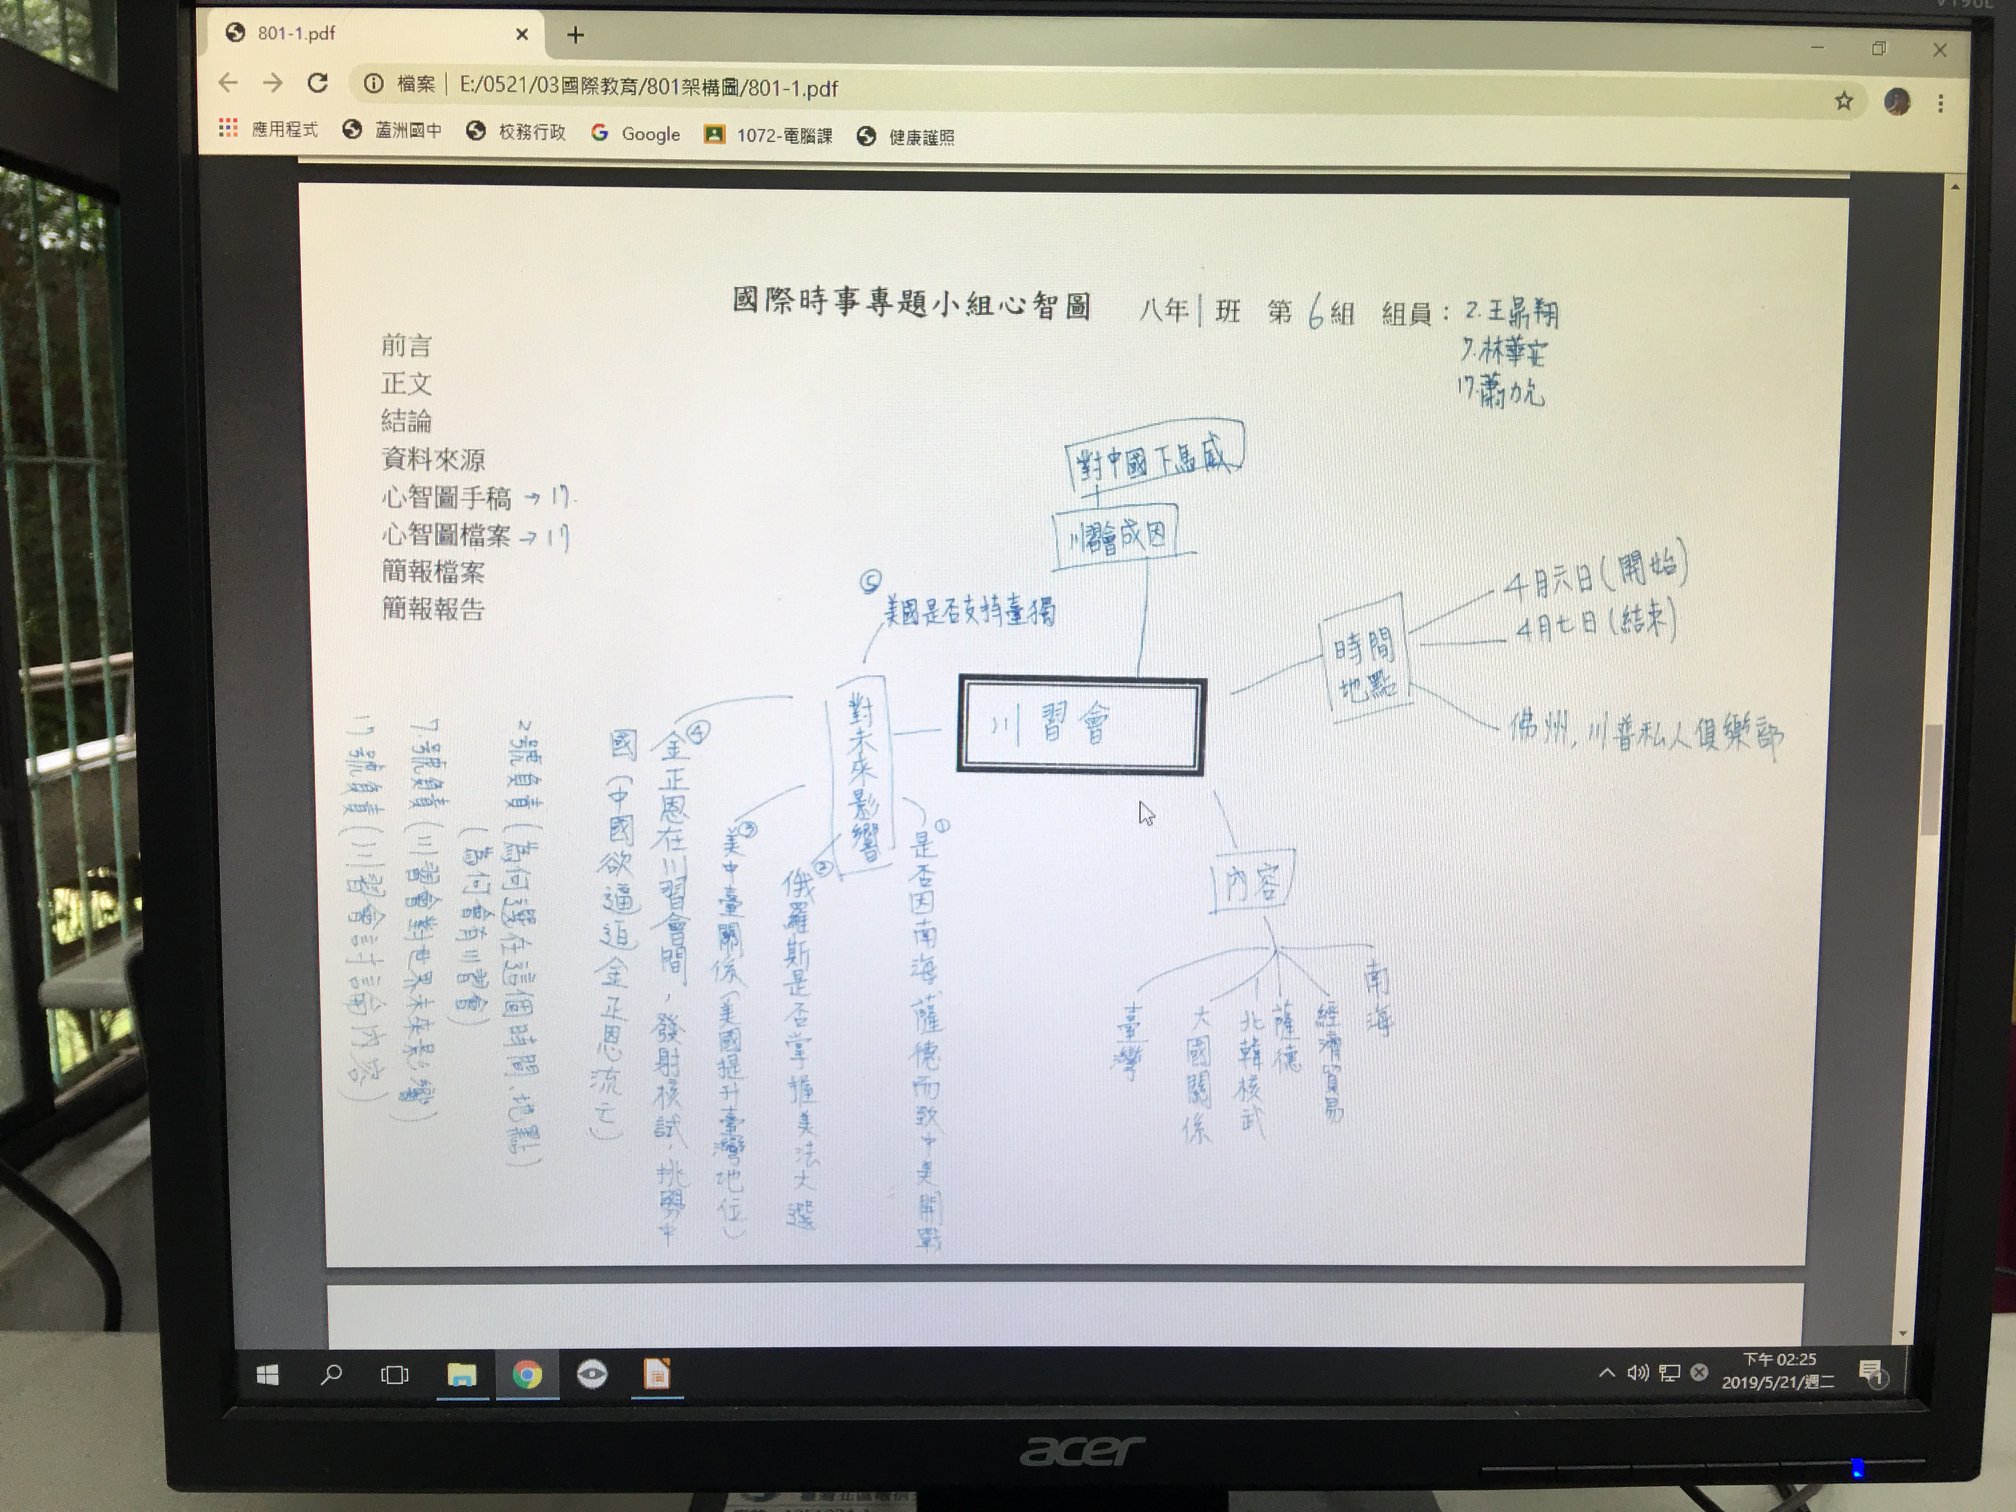
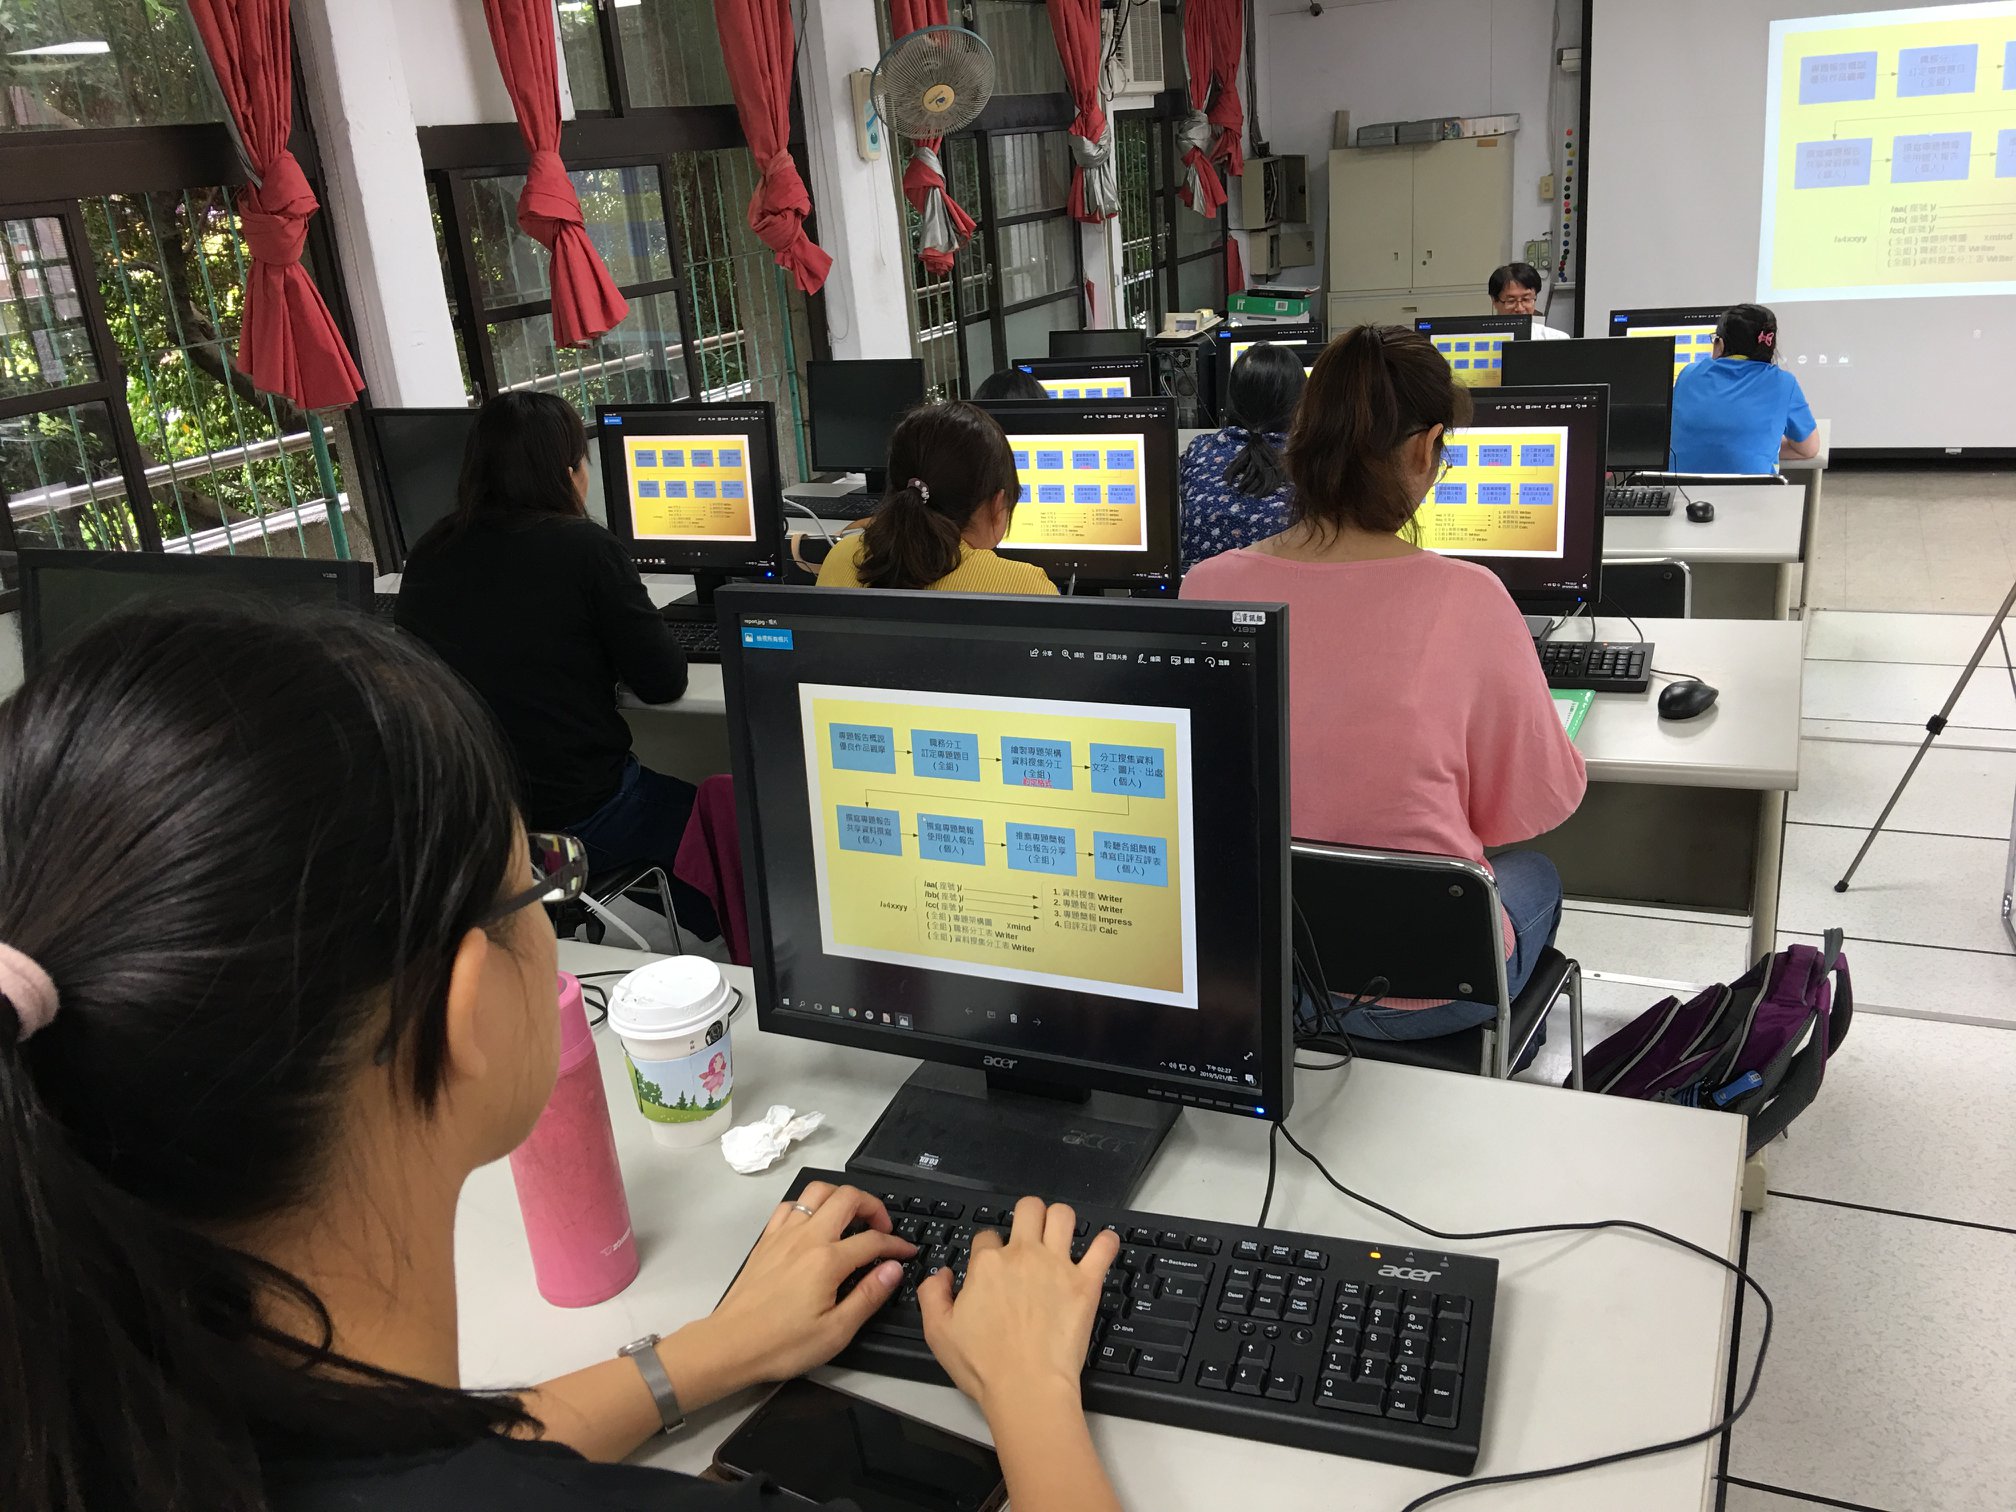
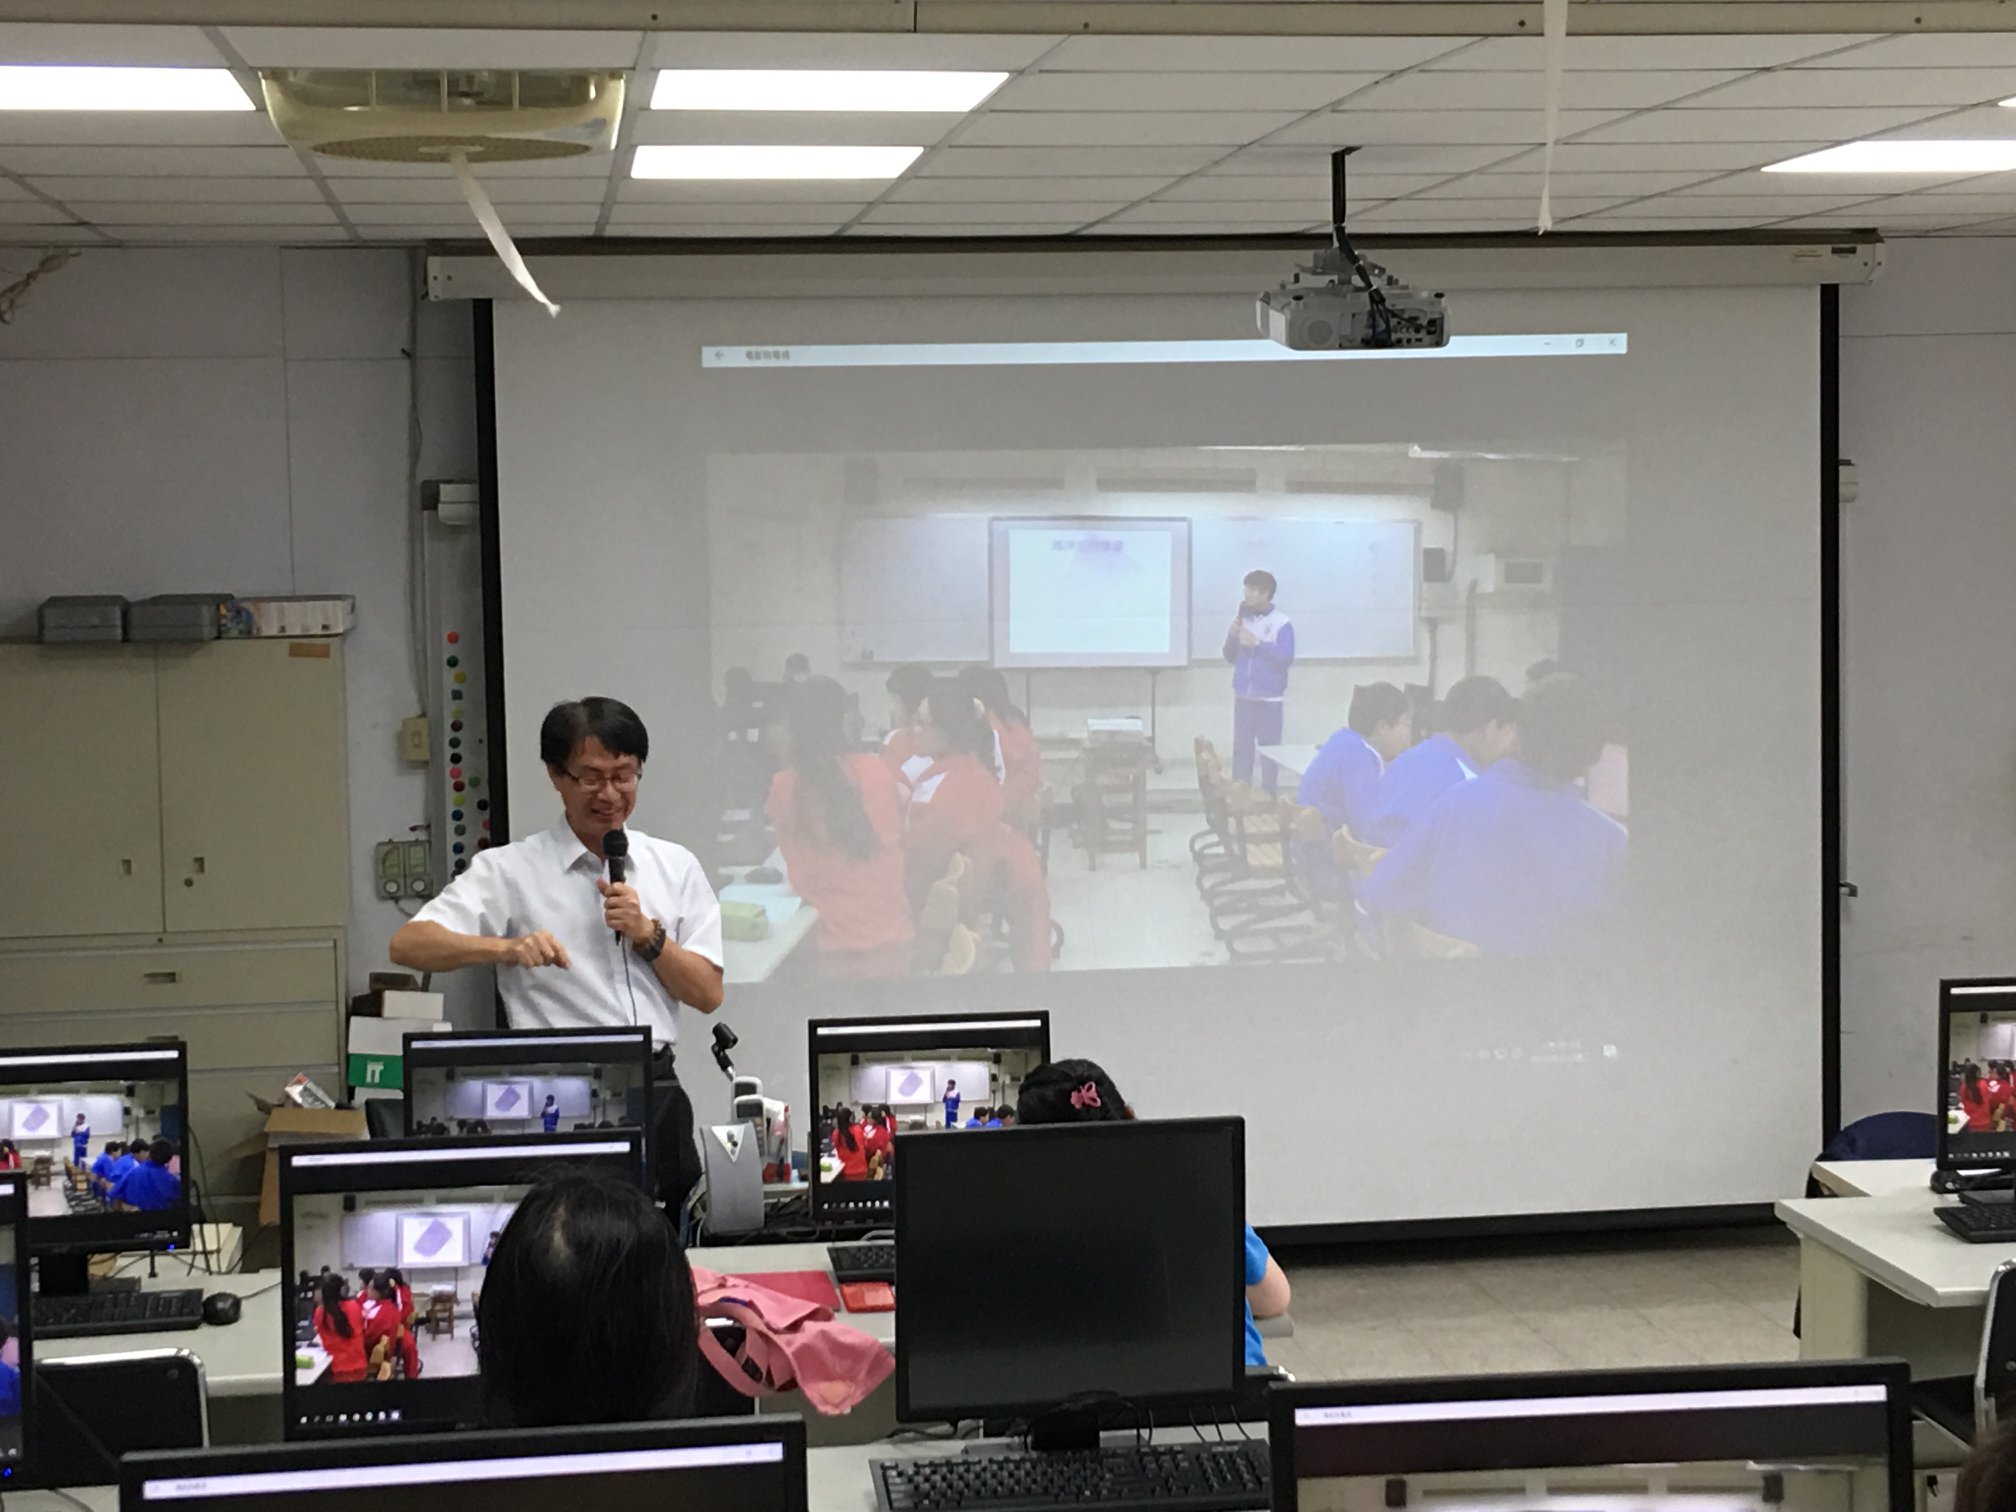
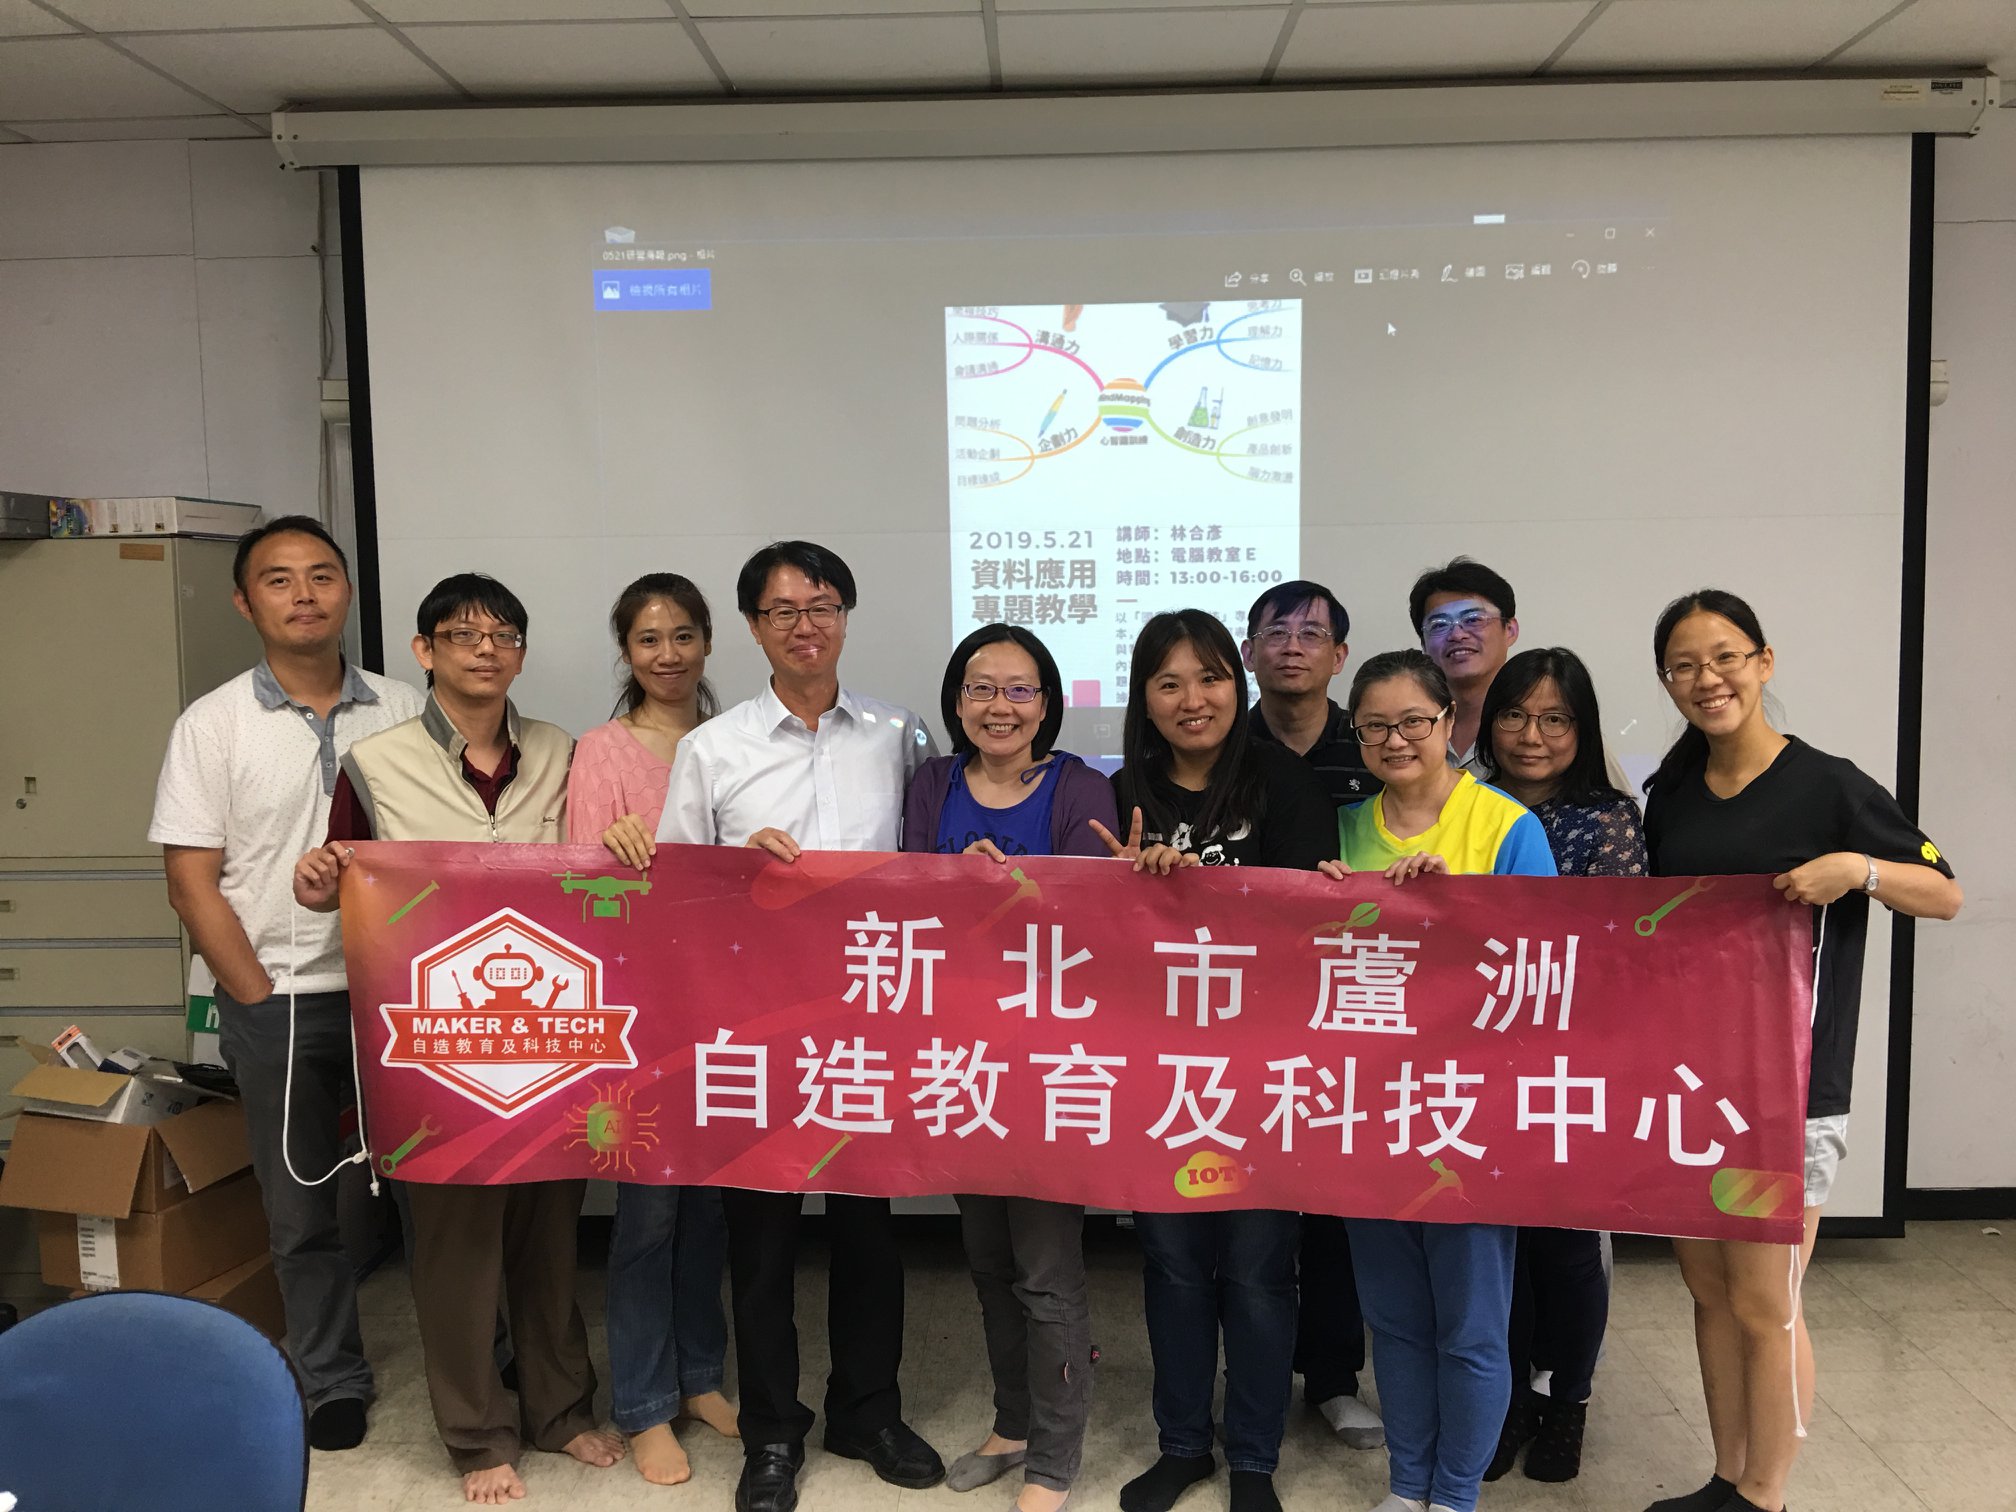
主題:資料應用專題教學示例 – 專題製作
講師:中山國中 林合彥老師
公文:
課程內容:
活動照片:
教學錄影:
專題製作一路走來
- 網界博覽會、小論文競賽(八年級)
- 生涯發展教育(八年級)
- 國際教育(八年級)
- 科技與社會相關議題(八年級)
- 資料處理應用專題(七年級)
教學資源:
【上個月資訊組長會議】
日期:108年5月21日(二)
地點:仁愛國小語言教室
主題:
- 上午:廠商介紹APP:LaBear Class 行動教學系統
- 下午:5a88實作
公文:
工作報告與研討:
相關網站:
交流分享:
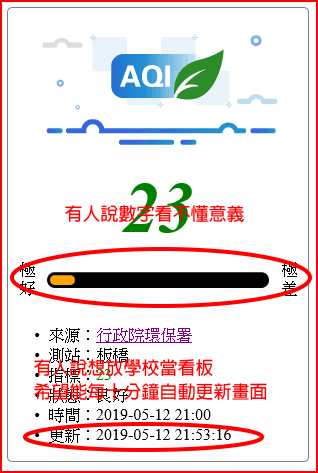
行政院環境保護署環境資源資料開放平臺
教育部國民中小學資訊安全管理系統填報
- 可透過新北市親師生平台,身份改成「資訊組長」,即可在最下方的「資訊組長專區」中點選直接登入。
- 虛擬機房研習辦理日期預計為6月11日(二)、6月19日(三)、6月25日(二),上下午各一場,共六場。
廠商產品介紹:
LaBear Class 行動教學系統 教學應用
5A88電腦管理系統
- 簡報:5A88虛擬磁碟開機還原系統
- 臺南市教育局Maker社群網 – 5A88電腦管理系統
- 5A88維護工具隨身碟製作教學 – 臺南市5A88
相關文件:
Synology NAS Server 系統更新:
-
-
-
DSM 安裝版本:DSM 6.2.2-24922
-
DSM 版本日期:2019/04/29
-
-
版本: 6.2.2-24922
(2019-04-29)
DSM 6.2.2 的新功能
- 新增智慧更新功能並調整 DSM 更新機制。
- IHM 現可支援 14TB IronWolf 和 IronWolf Pro。
- 新增特定 SAS 機種上的 SAS 控制器晶片韌體更新功能。
- 於技術支援中心中新增知識庫文章推薦,藉此幫助使用者進行簡易疑難排解。
- 若密碼過期,網域使用者將可在登入 DSM 時更換密碼。
- 新增支援整合式 Windows 驗證。
- 新增支援 Google LDAP 服務。
- 新增全新低容量寫入功能,能在儲存空間即將用盡時暫時解除 LUN 的唯讀狀態。
- 使用者將可在建立 iSCSI LUN 時,選擇欲啟用的進階功能項目。
- 調整 iSCSI Manager 在儲存空間容量不足時的警告機制。
- iSCSI Manager 現已可指定刪除舊快照的時間。
- 新增支援在個人帳號設定及控制台調整日期與時間的格式。
- 支援 XS 以及 FS 系列機種上的 SSD 相容性檢查。
- 調整壞軌通知機制。
- 提升 SSD 快取命中率計算準確性。
- 使用者可於新增 Synology DDNS 時同時取得 Let’s Encrypt 憑證。
- 將通知標記由數字改為紅點顯示並調整顯示規則。
問題修正
- 修正在特定機種上,歷史紀錄可能無法顯示於資源監控的問題。
- 修正在 macOS 10.13 上刪除檔案後可能無法重新上傳的問題。
- 修正無法在多台 macOS 裝置上同時使用 Microsoft Office 2016 開啟同一加密 Excel 檔案的問題。
- 縮短使用 AFP 連線時網域及 LDAP 認證所需時間。
- 提升掛載 exFAT 外接裝置的穩定性 (須安裝 exFAT 套件)。
- 提升 NFS 連線穩定性。
- 加強當使用者變動大量資料夾的位置時,Snapshot Replication 的穩定性。
- 加強 Btrfs 檔案系統在特定高 I/O 負載環境下的穩定性。
- 為提升安全性將安全修復選項由核心頁表隔離 (KPTI) 改為 Spectre 與 Meltdown 防護。適用於下列機種:
- 18-系列 : DS218+, DS418play, DS718+, DS918+, DS1618+, DS3018xs, RS2418+, RS2418RP+, RS2818RP+, FS1018
- 19-系列 : DS1019+, DS1819+, DS2419+, RS1619xs+
- 修正有關 Linux kernel 的多項安全性弱點 (CVE-2017-13168、CVE-2018-19824、CVE-2017-15649、CVE-2018-14634、CVE-2018-17182、CVE-2018-10853)。
- 修正有關 OpenSSL 的多項安全性弱點 (CVE-2018-0732、CVE-2018-0737、CVE-2019-1559、CVE-2018-0734、CVE-2018-5407)。
- 修正有關 Spectre & Meltdown 的多項安全性弱點 (Synology-SA-18:01)。
- 修正有關 OpenSSH 的多項安全性弱點 (CVE-2019-6109、CVE-2019-6110、CVE-2019-6111、CVE-2018-20685)。
- 修正有關 SQLite 的安全性弱點 (Synology-SA-18:61)。
- 修正有關 Samba 的多項安全性弱點 (Synology-SA-18:47, Synology-SA-18:60)。
- 修正其他問題。
版本: 6.2.1-23824-6
(2019-02-19)
問題修正
- 修正當轉換 SHR 類型或擴充 SHR 時,若系統異常的重新啟動,可能造成儲存空間無法正確掛載的問題。
- 修正在系統高負載的環境下,快照複寫結束時可能導致系統異常重新啟動的問題。
- 修正其他問題。
|
|